Strawberries and Cream Vegan Panna Cotta (Gluten free)
Strawberries and Cream Vegan Panna Cotta is deliciously creamy with a sweet strawberry topping. Easy and delicious, a perfect dessert! Vegan strawberries and cream panna cotta is a dairy-free version of the traditional Italian dessert. Panna cotta typically consists of cream, sugar, and gelatin, but in the vegan version, these ingredients are substituted with plant-based alternatives!
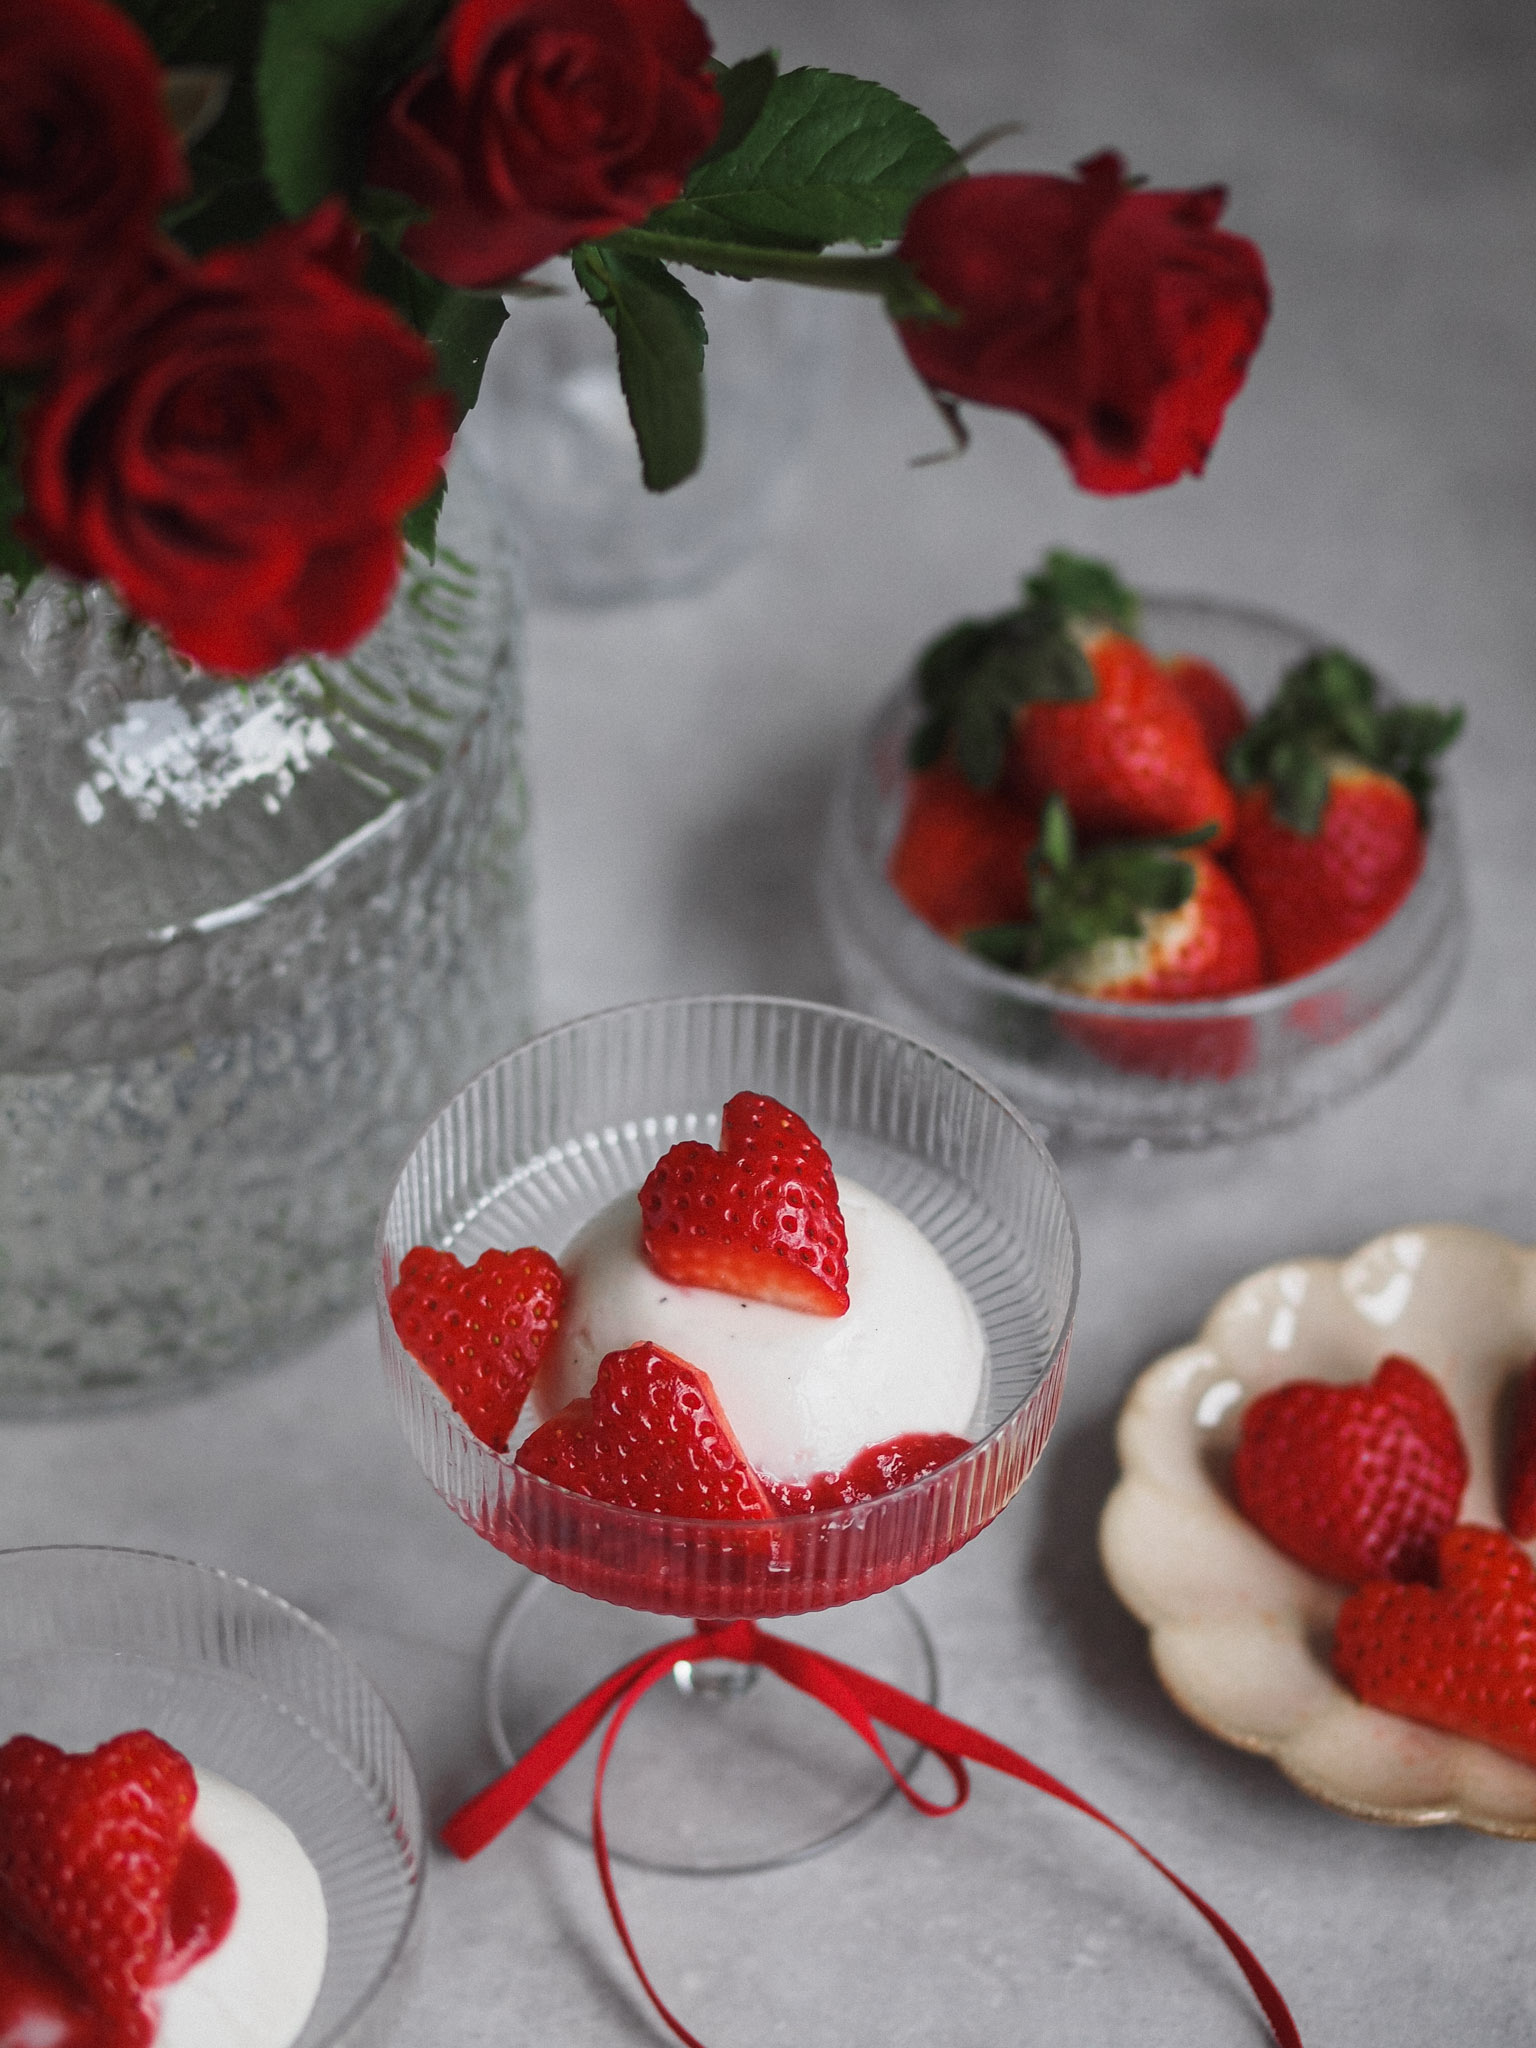
This Strawberries and Cream Vegan Panna Cotta offers a deliciously creamy texture with the sweetness of strawberries, making it a delightful and dairy-free dessert option. It’s gluten free and refined sugar free so many different diets can enjoy this delicious dessert! The strawberry hearts make it so sweet and festive, without taking much effort at all. So give this delicious and pretty dessert a try! Enjoy!
More recipes like Strawberries and Cream Vegan Panna Cotta on the blog:

Ingredients
Method
- In a medium sized pot over medium heat whisk the vegan cream, vanilla, and sugar together until well combined and the sugar has melted. Next bring the mixture to a boil and immediately add the agar agar. Whisk the mixture vigorously for two minutes then remove the pot from the heat. The agar agar only needs to boil just long enough for it to activate, about two minutes. The mixture may seem not very thick at this point but trust me a little agar agar goes a long way and the panna cotta will firm up nicely in the fridge!
- Pour the mixture in 4-5 heatproof moulds or heatproof glasses. I used silicone muffin cups for mine that are rather small so I made 5. Put in the fridge to set for about 1.5 hrs – 2 hrs depending on the size of the moulds you used.
- To make the strawberry compote, place a small pot on medium heat. Pour in strawberries. I used frozen strawberries so it took a few minutes extra time to soften them with heat. Use a masher and mash the strawberries to desired texture, or use an immersion blender if you want a smoother texture. Add the vanilla and maple syrup and adjust the flavourings as needed. It really depends on the flavour of the strawberries you used if you need sweetener or not. When the compote is done, let it cool off a bit before placing it in the fridge to cool further.
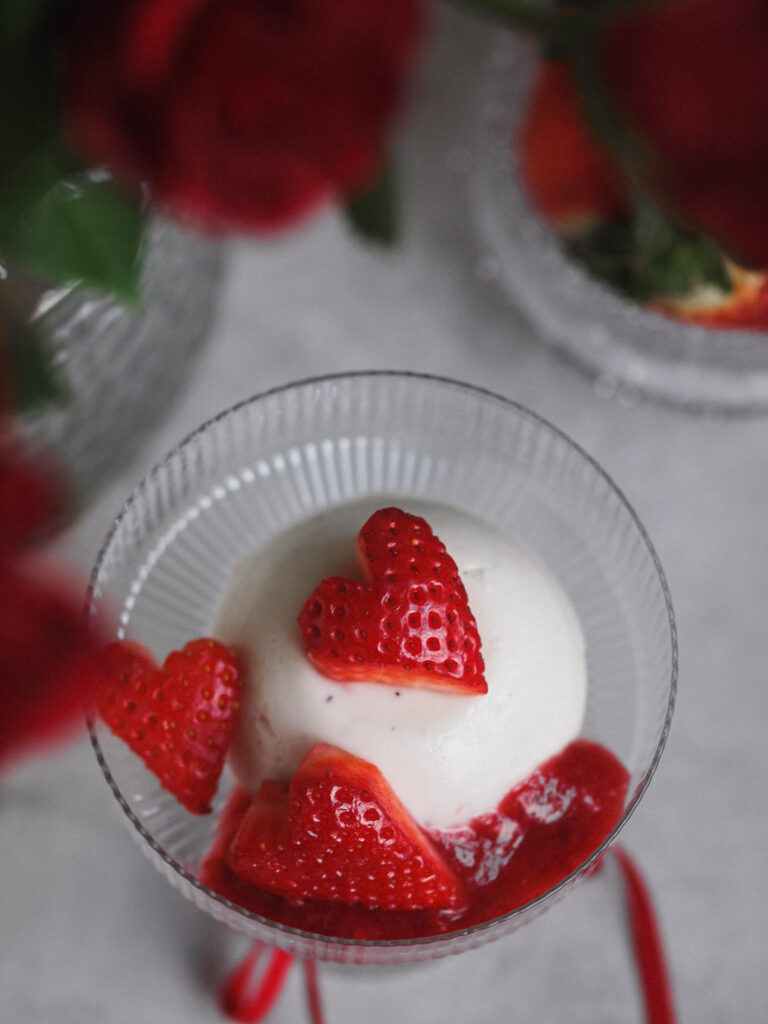
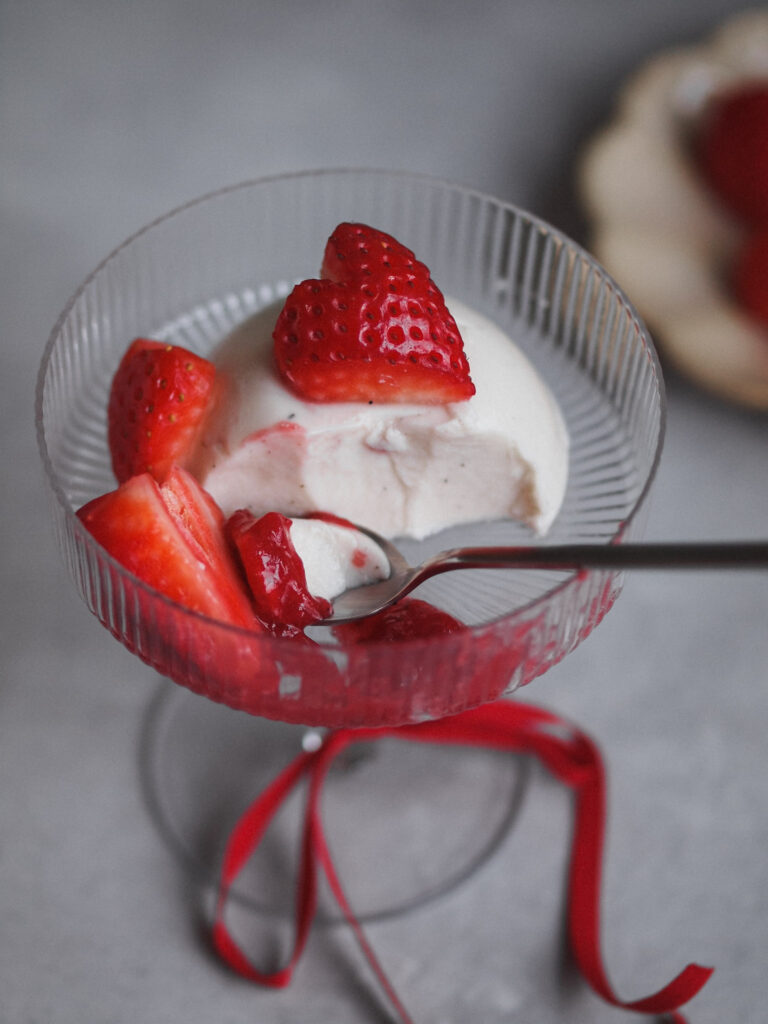
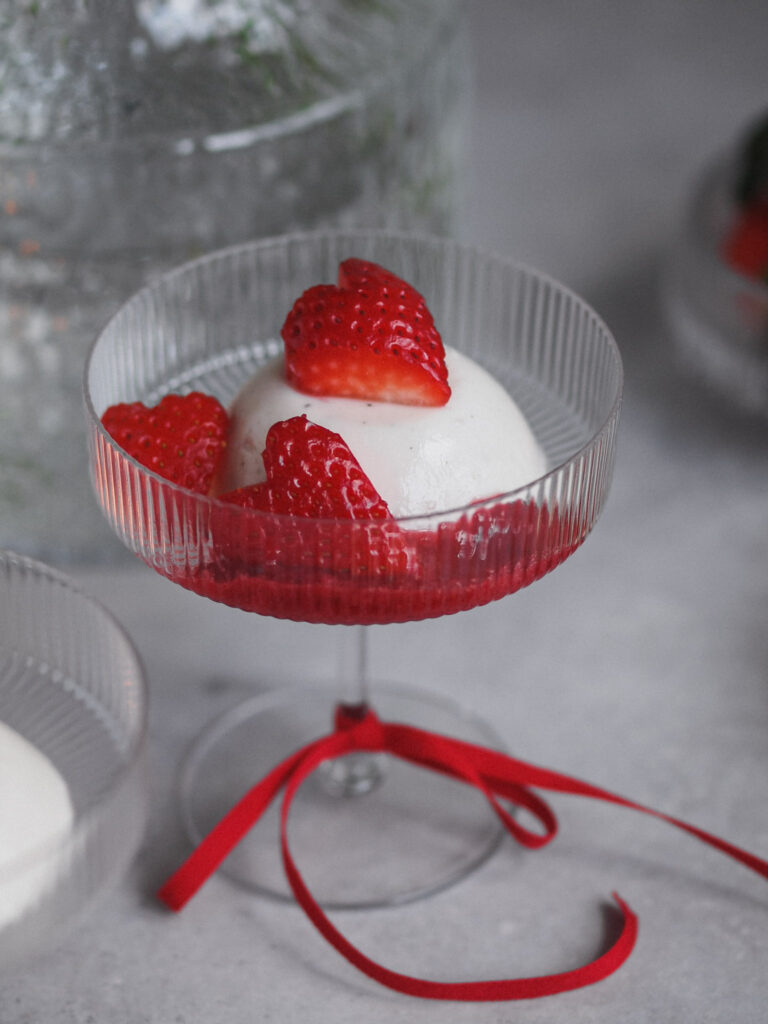
- When the panna cotta has set and it is time for serving, I like to let them sit out for about 15 minutes so they're not super cold but also still a bit chilled. Remove the panna cotta from the moulds if you used moulds. Make the optional heart strawberries now using a knife or a small heart cookie cutter. Cut the leaves off, then cut the strawberries in half from the stem down to the tip. Then using the knife cut each strawberry half into a heart form!
- Decorate the panna cotta with strawberries and compote and enjoy!